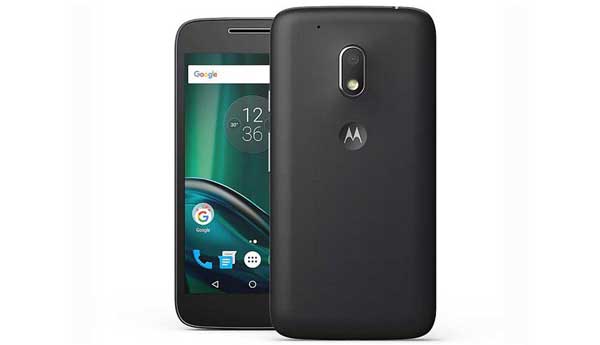
Moto G4 Play will not get Android 8.0 Oreo update officially, but you can upgrade the device to Android 8.0 Oreo via custom AOSP ROM. An unofficial version of crDroid Oreo ROM is released for Moto G4 Play (code-named harpia). If your Moto G4 Play is unlocked and have installed latest version of TWRP recovery on it, then you can install the crDroid ROM (version 4.0). The ROM is based on LineageOS 15.
If you are interested, read on to know how to install crDroid custom ROM on Moto G4 Play. Version 4.0 is based on Android 8.0 Nougat and offers plethora of personalization and new features. Thanks to XDA member althafvly for porting Android 8.0 Oreo crDroid ROM for Moto G4 Play (harpia).
Before start installing, note that the status of crDroid for Moto G4 Play is Beta, which means the ROM is not fully ready for daily use. Though most aspects of the ROM are working fine, features like VoLTE, etc. are not yet fully ported. However, experienced users can tryout the ROM right now.
Android 8.0 Oreo will bring features like PIP (picture-in-picture), Adaptive icons, Autofill, Notification timeout, and more along with UI changes to settings menu, notification panel, etc.
Below are the prerequisites for installing the custom ROM on Moto G4.
– Latest version of TWRP custom recovery installed on the phone
– Above 50% battery charge remaining on the phone
– Android 8.0 Oreo crDroid ROM (harpia) (download from here) (Development page).
– Android 8.0 compatible (arm 64) Gapps package (download from here)
Also Read: How to Get Official Android 7.1.1 on Moto G4 Play Right Now
How to Flash Android 8.0 Oreo crDroid on Moto G4 Play
Disclaimer: Follow the instruction at your own risk. We will not be liable if any damage occurs to your device and/or its components. It is recommended for technically talented users only.
1. Save the downloaded ROM zip file and Gapps.zip file on your phone’s storage
2. Reboot the device into TWRP recovery (Press Volume Down & Power buttons simultaneously)
3. In TWRP, select ‘Backup’ and create Nandroid back up.
4. Now, select Wipe and then Advanced Wipe. Select Cache, System and Data partitions to be wiped and then Swipe to Wipe.
5. Go back to main TWRP menu, and then select Install. Navigate to /sdcard, and select the LineageOS .zip package.
6. Follow the on-screen prompts to install the package. Once done, install Gapps zip file also.
7. Once installation has finished, return to the main menu, select Reboot, and then System.
Any question regarding this guide? Leave it in the comment section below. (Source – XDA)