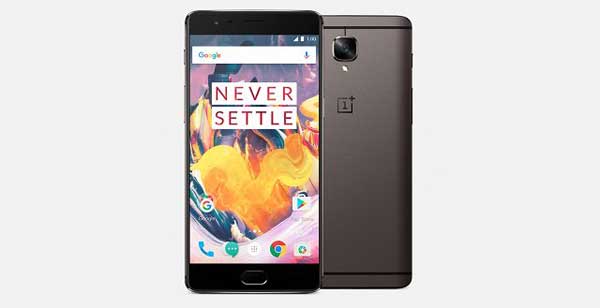
In this guide, we show you how to turn your OnePlus 3/3T into Google Pixel with Pixel Experience custom ROM. Google Pixel smartphone was launched with some unique features, such as Pixel Launcher, Google Assistant and more. OnePlus 3 and OnePlus 3T owners who would like to get Google Pixel features, such as Pixel Launcher with round icon support, boot animation, ringtones, system sound, Pixel live wallpapers, Pixel’s blue accent, Google Assistant, etc. the Pixel Experience Custom ROM brings them.
Developed by the XDA contributor t-shock, the Pixel Experience ROM brings a feel of Google Pixel phone to OnePlus 3/3T. If you are interested, checkout the below installation instruction to know how to flash the Pixel Experience custom ROM on OnePlus 3/3T. The ROM includes various Pixel phone features and some theming to make OnePlus 3 & 3T look like Google Pixel phone.
Note: The ROM is based on the latest LineageOs 14.1 (Android 7.1.1 Nougat) and pre-rooted. The status of the ROM is stable and the know bug is buggy camera.
Pixel Experience ROM comes with the following features:
– Based on the latest Lineage OS
– February Security patch
– All Google Apps (replaced the stock ones)
– Pixel Launcher with round icon support
– Pixel Boot Animation
– Pixel Sounds
– Pixel Live Wallpapers
– Pixel’s blue accent
– Google Assistant
– Root is included (you have to enable it from the dev options)
– Round Icon for Settings
– OnePlus’ Recorder app
Note: This is a unified build, so it should work on both OnePlus 3 and OnePlus 3T. The below guide assume that your OnePlus 3/3T rooted and have latest version of TWRP recovery installed.
How to Install Pixel Experience ROM on OnePlus 3/3T
Disclaimer: Follow the instruction at your own risk. We will not be liable if any damage occurs to your device and/or its components.
1. Download the Pixel Experiance zip file from here / source and copy it to your OnePlus 3/3T. Also Download Gapps from here and save it on your phone.
2. Reboot your phone into TWRP
3. In TWRP, select ‘Backup’ and make a Nandroid backup (recommended)
4. Now, select ‘Wipe’ and wipe data/system/dalvik/cache
5. Now, select ‘Install’, navigate to ROM zip file and swipe to install the ROM. Once done, install Gapps zip file also, and then reboot your handset.
Let us know your views about this ROM in the comment section below (Source – t-shock)


