Email signature is usually used to provide the recipient with sender’s name, e-mail address, business contact information, or other messages. Would you like to personalize your emails messages by adding bespoke signatures to them? Here is how to add custom signatures in the Gmail app for Android.
Adding custom signature in the Gmail app for Android is quite simple. Just open up the Gmail app and navigate to the menu button in the bottom-right of the app.
From the list that now appears, select the Settings option to continue. On the next screen, select the account that you want to create a signature for.
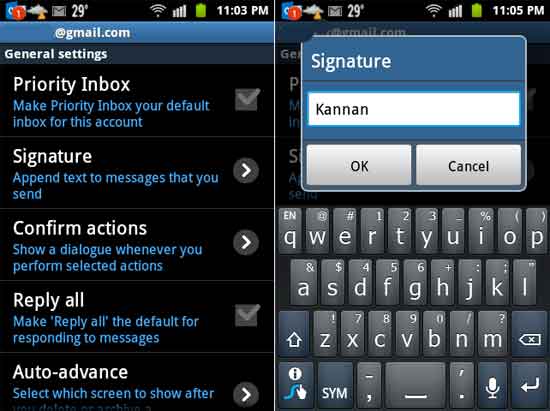
It’ll take a few seconds for your individual account settings to load up so be patient. Once loaded, scroll down the list until you reach “Signature” option under the main options.
Tap on “Signature” option to begin inputting your personalized email signature to your chosen account. You can add whatever you like in your email signature.
Note that, unfortunately you can’t edit or format the text once completed to add an even more personal touch, so take care while inputting your signature
After finishing, press OK and your signature will automatically be added to all your sent email from that point on.