Moto G 2014 (2nd Gen) has received Android 7.0 Nougat in the form of unofficial CyanogenMod 14 custom ROM. If you are excited to taste the all-new Android 7.0 Nougat and its features on your Moto G 2014, then follow the below guide to know how to install CyanogenMod 14 (unofficial) on your handset.
Based on the Android 7.0 Nougat, the unofficial CyanogenMod 14 custom ROM for Moto G 2014 (titan) is an early testing build and contains several bugs. Though most things are working fine, there might have several bugs that are not yet identified. It means this early build is destined for power Android users and not recommended as a daily driver.
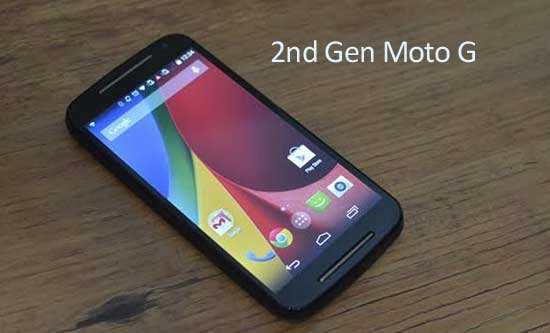
The below given ROM zip file is a unified build, so it will work on all 2nd Gen Moto G 2014 (Titan) variants. Read on to know how to install CyanogenMod 14 (Android 7.0 Nougat) on 2nd Moto G (2014)
What is working:
Boots

RIL (Calls, SMS, Data)

Wifi

Bluetooth

Camera ( Photos )

Video Playback

Audio ( Record and Playback )

Sensors

Flash

Led
What is not working:
Video recording (It works using Google Camera )

SELinux is permissive
How to Install Unofficial CyanogenMod 14 on Moto G 2014
Before installing CyanogenMod 14 on Moto G 2014, do NOT forget to back up your phone data. Also, your device must be rooted, bootloader unlocked and a latest version of TWRP recovery installed (Find instructions in previous posts or at XDA).
Disclaimer: Follow the instruction at your own risk. We will not be liable if any damage occurs to your device and/or its components. This is recommended for technically talented users only.
Installation Instruction
1. Download CyanogenMod 14 (unofficial) for Moto G 2014 (Titan) ROM zip file [HERE] [Development page] and Android 7.0 compatible Gapps zip file [HERE]. Place both zip file on your phone’s SD card.
2. Boot your Moto G 2014 into custom TWRP recovery (press Power button + Volume down key together).
3. In TWRP recovery, select ‘Wipe’ and wipe System, Data, Cache and Dalvik Cache.
4. Now, from main custom recovery menu, select “Install”, then choose the ROM zip file and flash it. Repeat the same for flashing Gapps zip file.
5. Once done, again, wipe Cache (to fix boot loop), then reboot the phone and let it settle.
Note that it will take little long time for the first time to boot. Leave your views in the comment section below (Source – XDA)


