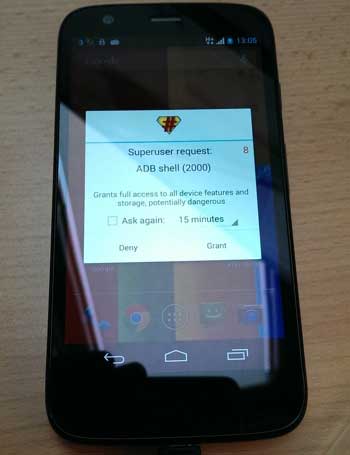
The budget Moto G from Motorola offers some extremely tempting features for a handset that costs less than $200. If you own this gadget and want root access on the phone, follow below guide. Keep in mind that rooting the Moto G will void manufacturer warranty, so, unless you have a very specific case for a root, try to stick to the stock for good reasons.
For your information, the Moto G smartphone features a sharpest 4.5″ (1280 x 720) HD display, all-day battery, quad-core speed (Snapdragon 400 processor with 1.2 GHz), 1GB RAM, Android 4.3 with guaranteed upgrade to Android 4.4 KitKat, 8GB/16GB storage, and colorful backs to customize the phone.

Disclaimer: Please follow this guide at your own risk. We can’t take responsibility for anything that goes wrong. This guide is intended for technically talented users only
Pre-requisites for rooting:
Before rooting your Moto G, back up all data (contacts, apps, sms, etc.) by using any appropriate backup application. Once backed up the data, enable USB debugging mode from developer option. Also, make sure your phone is fully charged.
Instruction to Root Moto G
1. Install driver for Moto G on your computer. Download and install the Motorola Device Manager for driver (download from here).
2. Unlock Bootloader: To do so, go to official Motorola website and unlock the bootloader.
3. Now, go here and download the latest version of Superboot. Extract the content into a folder on your desktop.
4. Open a command prompt window from the folder (press Shift key, then right click and select Open command window here).
5. Now, boot Moto G into bootloader mode. To do so, turn off your phone, then turn on by pressing the Volume Down and Power button together.
6. Now, connect your phone to your computer with the help of USB cable (use original USB cable) and then execute the below command in the command prompt (for Windows).
superboot-windows.bat

Once the process is finished, you will be greeted with the Super SU and root access installation message. You can check the root access by installing a Root checker app. Hope you will enjoy this guide. (source)


