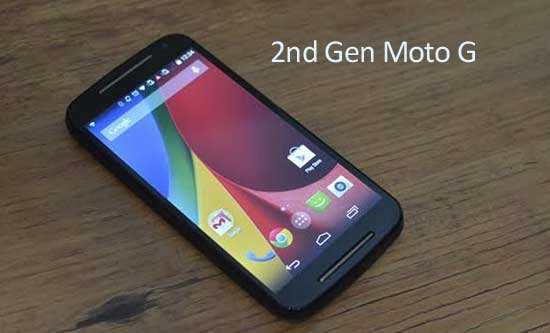
Motorola has updated its popular budget 2nd Gen Moto G (2014) to Android 5.0 Lollipop in select regions. Tech-savvy users who want to go crazy and play with their Moto G might want to root their device after the Android Lollipop update. Chainfire, developer of the popular one click “CF Auto Root” tool has released rooting solution for 2nd Gen Moto G 2014 on Android Lollipop.

In this guide, we will show you how to root your 2nd Gen Moto G 2014 (XT1063, XT1068, XT1068 titan_retd) after the Android Lollipop update. In this tutorial, we use Chainfire’s CF-Auto-Root tool for rooting Moto G. This is one of the easiest, one-click root methods and it will install the SuperSU binary and APK on your phone.
Root access on your Moto G (2014) gives vast opportunities such as backup/restore firmware, flash custom ROMs, and applies various tweaks; however, some of these processes will void your device WARRANTY, though you can restore the warranty by flashing the device with stock-ROM.
Warning: Please follow this guide at your own risk. Though we are putting our level best to provide this tutorial at its maximum perfection and accuracy, we can’t take responsibility for anything that goes wrong. This guide is intended for technically talented users only.
Prerequisites:
a) Enable USB debugging mode in your phone from developer options [details]
b) Moto G driver must be installed on your PC [download here]
c) Make e your device has more than 80% battery
Download CF-Auto-Root tool for:
Moto G 2nd Gen XT1063 [HERE]
Moto G 2nd Gen XT1068 [HERE]
Moto G 2nd Gen XT1068 (titan_retd) [HERE]
How to root Moto G 2014 after Android Lollipop update
1. Turn off your phone and enter into Bootloader mode by holding Volume (+), Volume (-) and Power buttons simultaneously.
2. Unzip the ‘CF-Auto-Root-xxx-xxx-xxx.zip’ file on your computer and then connect your Moto G to your PC via USB cable.
3. On Windows, run the “root-windows.bat” file from the extracted contents.
Note: It will take few minutes to boot your device. Once booted up, confirm the root by going to app drawer and check SuperSU is installed.


Go to Motorola website (https://motorola-global-portal.custhelp.com/app/standalone/bootloader/unlock-your-device-a) and follow the instruction
How to unlock bootloader.
with unlocked bootloader
with or without unlock bootloader
does anyone has use this method
There is no reason for that
Did he work with 5.0.2????