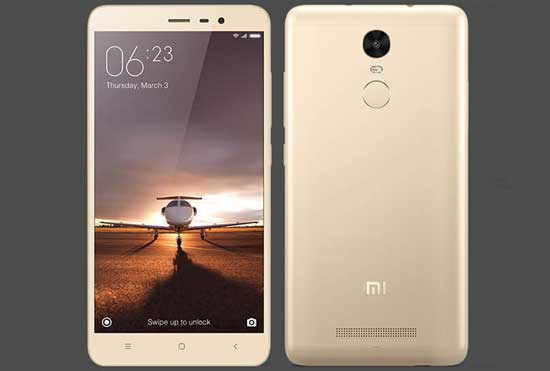
Even if your smartphone has a decently larger battery, it drying out before your day completes, if your usage is heavier. To accommodate this, quick charging is the next best thing. Quick Charge is a built-in feature of Qualcomm’s latest SoCs, but this feature is not enabled on all phones for specific reason. Qualcomm variant Redmi Note 3 (Kenzo) gets Quick Charge 2.0 support via custom Kernel Franco. Read on to know how to install Franco Kernel on your Redmi note 3.
The latest version of Franco Kernel (r5) for the Redmi Note 3 supports Quick Charge 2.0 and fixes many bugs. To prevent excessive heat during charging, it controls charging amperage quite dramatically using Qualcomm reference values, so users need not to worry about it. Note that Franco Kernel for Redmi Note 3 runs LineageOS 14.1 offers various other features as well, such as extended battery life and more.

It is said that Quick Charge 2.0 can boasts up to 75 percent faster charging times than standard charging, but requires an adapter capable of outputting more than 3A power and good charging cable.
What is kernel on Android? In simple words, on an Android device, the kernel is responsible for controlling how the system and your device’s hardware interact. Custom kernel enables you to make specific modifications to your device that normally will not be supported by the manufacturer.
Note: To install a custom kernel requires root access and latest version of custom recovery (TWRP) on the phone.
Important: Do a Nandroid backup and save any other settings before putting the kernel zip on your phone’s SD card.
How to install Franco Kernel on Redmi Note 3 Snapdragon Variant
Disclaimer: Please follow this guide at your own risk. We can’t take responsibility for anything that goes wrong. This guide is intended for technically talented users only.
1. Download latest version of Franco Kernel zip file from here and save it on your phone’s SD card.
2. Reboot your Redmi Note 3 into TWRP recovery (Switch off your phone and boot into TWRP recovery (Hold Volume Up and Power buttons simultaneously)
3. In TWRP recovery, select Backup and create a Nandroid backup (recommended).
4. In the menu, select Install. Navigate to /sdcard, and select the kernel .zip file. Follow the on-screen prompts to install the package.
5. Once flashing process has finished, return to the main menu, select Reboot, and then System.
Leave your views in the comment section below (Source – XDA)


