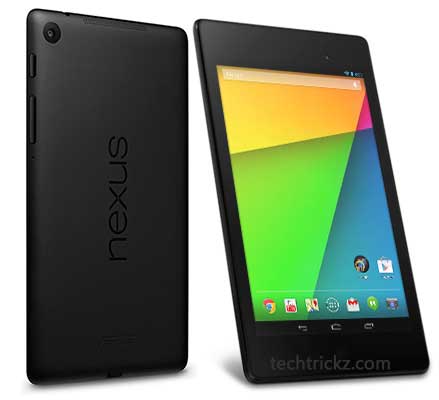
Google’s second-generation Nexus 7 tablet (2013), which runs on latest Android 4.3 version, has a faster Qualcomm Snapdragon S4Pro quad-core processor, thinner, narrower and lighter in design and twice the RAM of its predecessor with 2GB. Google Has also added a 5megapixel camera to the rear and boosted the display resolution from 1280×800 to 1920×1200. The display has a pixel density of 323ppi, which Google said is the highest number of pixels per inch of any tablet. It is available in both 16 and 32 GB of internal storage.
If you are one of those who like deeper customization on their device, you might want to unlock your Nexus 7’s bootloader and root it. Here is how to unlock bootloader, root and install TWRP recovery on Nexus 7 tablet (2013).
Keep in mind that, like any other Nexus devices, unlocking bootloader, rooting and installing custom recovery on Nexus 7 (2013) is also simple and straightforward; however, everything should do with extreme care and backed up your data.
Prerequisites:
Fastboot file (download from here)
TWRP recovery image (WiFi or LTE)
SuperSU binaries (download.chainfire.eu/supersu)
ADB installed and configured on your Windows PC.
USB driver for Nexus 7 installed on your computer
Backup your data
Disclaimer: Follow the instructions at your own risk. If the device gets damaged, we won’t take any responsibility.
Unlocking Nexus 7 (2013) Bootloader:
– Download the fastboot file and extract it. Place this fastboot file in the same location where ADB is installed.
– Turn on USB Debugging on your Nexus 7 and connect it to the PC via USB cable.
– Open a command prompt from your platform-tools folder by right clicking (where you had placed the fastboot file) and run the following command:
adb reboot bootloader
– Once the device has rebooted into bootloader mode, run following command in the same terminal window:
fastboot oem unlock
– Follow the on-screen instructions. Once those are complete, reboot the device.
Once your nexus 7 rebooted you will see the unlock button on your screen. That’s it!
Install TWRP recovery on Nexus 7 (2013)
– Download TWRP recovery for Nexus 7 (2013) from here and save it on your PC. Rename it to “recovery-twrp.img” and copy and paste it to the same location where you placed fastboot. Launch a command prompt window from the location.
– Enable USB Debugging and connect your Nexus 7 to the PC via USB cable. Then, launch a command prompt window at the same location where you have placed recovery.img, and reboot into bootloader mode using following command:
adb reboot bootloader
– Run the following command:
fastboot flash recovery recovery-twrp.img
– This will install the TWRP recovery on your Nexus 7; wait for few minutes to complete the process and reboot Nexus 7 again.
Rooting Nexus 7 2013:
– Download SuperSU ZIP file and move it to the root of your device’s internal memory/SD card. Then turn off your device and reboot your device into recovery by pressing and holding Volume Down and Power button combo.
– Tap on “Install”, and then select the SuperSu zip file. Then perform “Swipe to Confirm Flash”. Once the zip install is complete, tap on “Reboot System”.
That’s it – you’ve successfully unlocked the bootloader, rooted and installed TWRP custom recovery on your Nexus 7 (2013) running Android 4.3 Jelly Bean!


