Motorola officially supports bootloader unlock for the Moto G4/G4 Plus (Moto G 2016), so you can install TWRP recovery and get root privilege on the device. Custom recovery and root access lets tech-savvy users customize their device, install custom ROMs like CyanogenMod, backup stock firmware and let do various other things.
In this guide, we show you how to unlock bootloader, install TWRP recovery and root Moto G4/G4 Plus (4th Gen Moto G 2016). Before get start, please note that the below procedures will wipe your device and voided warranty. Do not do it, unless you have specific reasons.
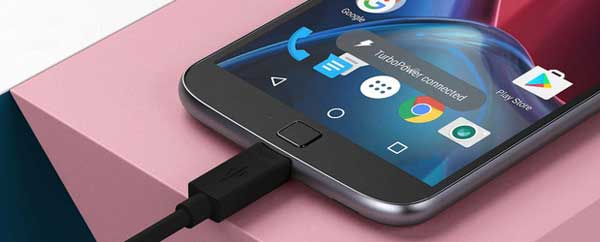
The 4th Gen Moto G is a high spec and affordable smartphone. It comes with Fingerprint sensor, 16MP primary camera and 5.5-inch full HD (1920 x 1080) display. It powers Qualcomm 1.5GHz Snapdragon 617 octa-core processor with 550 MHz Adreno 405 GPU, 2GB RAM, 16 GB internal memories and 3000 mAh battery.
Prerequisites for unlocking bootloader, installing TWRP recovery and get root access on Moto G4/G4 Plus:
1. USB driver for Moto G4/G4 Plus installed on your PC (Download here)
2. ADB and Fastboot driver installed on the PC (Read this guide)
3. Official TWRP recovery for Moto G4/G4 Plus (athene) (Download here)
4. SuperSU v2.62-3 Beta (Download here)
Warning: Before get start, do remember that though Motorola officially lets you unlock Moto G4 / G4 Plus bootloder, it will void your device’s warranty. Also, it will wipe your device completely, so back up all data you have on your phone before proceeding.
Disclaimer: This guide is for advanced users only. We will not take responsibility for anything that goes wrong.
How to unlock Moto G4 Plus 2016 bootloader
1. Enable Developer Options (Settings > About Phone > and tap on Build Number for about 7-10 times. In Developer options, enable “USB Debugging” and “Allow OEM unlock” options (Settings > Developer Options)
2. Reboot your phone into Bootloader (power off, then press the power and volume down buttons simultaneously). Then connect your phone to your PC
3. Go to ADB installation folder, open a command prompt from there and issue the below command:
fastboot oem get_unlock_data
4. You will get string like this:
(bootloader) 0240540162024205#4C4D3556313230

(bootloader) 30373as313630330df332323239#BD00

(bootloader) 8A672BA4746C2CE0a328A2AC0C39F95

(bootloader) 1A3E5#1F53280002000000000000000

(bootloader) 0000000
5. Copy all the 5 strings together into one continuous string without (bootloader). It should like this:
 0240540162024205#4C4D355631323030373as313630330

df332323239#BD008A672BA4746C2CE0a328A2AC0

C39F951A3E5#1F532800020000000000000000000000
6. Now, go to the Motorola Site [HERE] and sign in using your Google account or Motorola ID. Scroll down the page and paste the copied string.
7. If your device is unlockable, a “REQUEST UNLOCK KEY” button will appear at the bottom of that page. Click on it and wait for the unique code to be sent to your mail.
8. Now, copy the key that Motorola sent to you via email.
9. Make sure your device is still connected to your PC. Type the command:
fastboot oem unlock UNIQUE_KEY
NOTE: Replace ‘UNIQUE_KEY’ with the unlock code that you have got via email.
10. Then hit enter to start unlocking process. Wait for a while and soon you will see ‘Bootloader Unlocked’ warning on your device.
Very Important: Though you can relock the bootloader from fastboot (by issuing the command: fastboot oem lock), there is no guaranty that it can revert your device to factory state
How to install TWRP recovery on Moto G 2016
1. Save the downloaded TWRP recovery image inside the adb installation folder and rename it to twrp.img.
2. Connect your phone into PC, then go to adb directory, open a command window (shift + Right click and select Open command window here) and issue the below command:
adb reboot bootloader
3. Once your device boot into bootloader mode, issue the below command:
fastboot flash recovery twrp.img
7. Once TWRP is successfully flashed, issue the below command to reboot your phone:
fastboot reboot
You have now successfully installed TWRP recovery on your Moto G 2016
How to Root Moto G 2016 using SuperSU
1. Save the downloaded SuperSU zip file into your phone’s internal memory.
2. Boot your phone in to TWRP recovery and in TWRP recovery, tap on Install and select the SuperSU zip file.
3. Slide the button on the bottom to start the flashing process.
5. After installation finished, tap on ‘Reboot System’ to reboot your device.
Your Moto G 2016 is now rooted. If you come across any issue, leave it in the comment section below (via – XDA)


