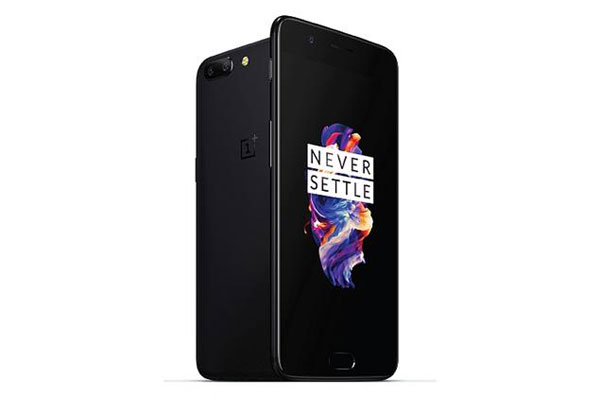
The default Phone and Contact app that comes with the OnePlus 5 is perfectly fine, but it lacks some of the features that the Google Phone and Contact app offers. For example, Google Phone/Dialer app allows you to answer or reject calls from the notification, while the Google Contact app can backup all of your contacts to the cloud. If you are interested, here is how to get Google Phone and Contacts app on OnePlus 5.
In this guide we show you how to get and install Google Phone and Contacts app on OnePlus 5. However, to install both apps requires root access and TWRP custom recovery installed on the phone. Installing the app is quite simple. All you need to flash the provided zip file via TWRP recovery.

Note that, OnePlus 5 Google Dialer + Contacts app is also available as a Magisk module for those who have Magisk Manager app installed on the phone.
Thanks to the XDA contributor dustintinsley, the OnePlus 5 Google Dialer + Contacts works fine on OnePlus 5, but once installed the app, you should make it default phone/dialer app and set permissions manually to get benefit it offers.
How to Get Google Phone and Contacts app on OnePlus 5
This guide assume that your OnePlus 5 is rooted and have latest version of TWRP recovery installed (details)
1. Download TWRP flashable OnePlus 5 Google Dialer + Contacts from here (source) and save it on your phone.
2. Boot OnePlus 5 into TWRP recovery mode.
3. In TWRP, select ‘Install’, navigate to the zip file (you have just saved on your phone) and swipe to install it.
4. After installation is completed, select ‘Wipe’ and wipe your Dalvik and Cache, and then reboot your phone.
Now, you need to make the Phone app as default and manually set the permissions for the app. To do so,
5. Go to Settings > App Info > and disable default OnePlus phone app.
6. Again, select App info and make the new phone app default. Aso, select Permission and enable all the required permissions manually.
You have now successfully installed Google Phone and Contacts app on your OnePlus 5. Leave your views in the comment section below. (Source – XDA)


