Gionee Elife E7 is a flagship smartphone from the company. It powers by a 2.2 GHz Qualcomm Snapdragon 800 Processor, 2GB/3GB RAM, 16GB/32GB ROM, a huge 5.5-inch 1920 x 1080 IPS display and an incredible 16MP rear-camera. It has superb performance and available at reasonable price.

Own a Gionee Elife E7 Android smartphone? Looking for a simple way to get full root access on it, so as to install custom ROMs, MODs, install applications that requires administrative privileges, change its look and feel by installing Xposed Framework and more. Here is a simple way to get full root access on Gionee Elife E7. In this tutorial, we are using the vroot-rooting package for rooting the device.
Warning: Rooting will void your device manufacturer’s warranty, so do it at your own responsibility. Also, as this procedure will wipe all the data on your device, make a full backup of all your important data on both device and external memory.
How to Root Gionee Elife E7
Before rooting your device, ensure that your device is fully charged. Also, make a full backup of your important data.
1. Download the Vroot application on your PC. (Download (8.1MB) from here)
2. Enable USB Debugging on your phone. To do so, go to Settings ->Developer Option -> USB Debugging.
3. Install the Vroot app on your PC (the app interface is in Chinese language, but there is no problem, just follow as described below)
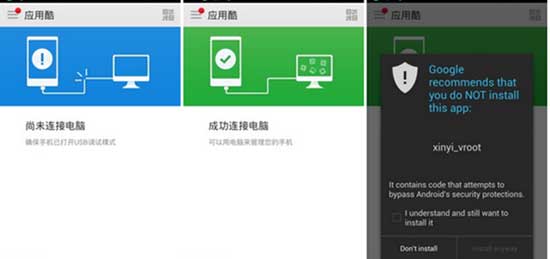
4. Now, connect your device to PC via USB cable. Run Vroot app and it will detect your device automatically.
5. Once your device is detected, you will see a green “Root” button as shown in the image below. Click on the button to start the rooting process.

6. You will see the installation progress on your device’s screen. Wait and don’t forget to give permission to all the prompts that appears on your screen.

7. Once the process is completed, disconnect your device from the PC and reboot your device. Check root access by installing any Root Checker app from Play Store. That’s it
Now your Gionee Elife E7 is fully rooted. Start tweaking your device by installing Xposed Framework, MODs or install custom ROMs. Leave your views in the commect section below.


xposed wont work on my e7 full rooted !!!!!!!i get framwork error