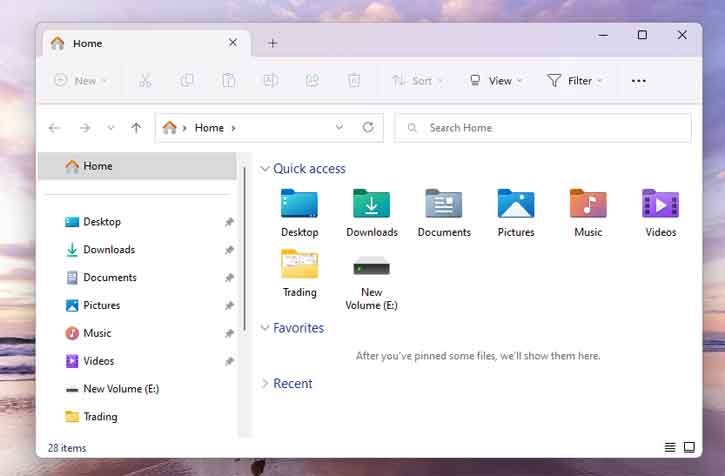
Microsoft recently added the much-awaited tabbed File Explorer on Windows 11. This multi-tasking feature lets users keep several folders open and switch quickly between them. And there is a third-party tool to bring the tabbed File Explorer feature to Windows 10.
However, for some reason, if you do not like the tabbed File Explorer in Windows 11, you can turn off the feature. But, since Windows 11 does not have the option to turn on and off tabs in File Explorer, you need to use the third-party utility Vivetool.
ALSO READ: How to Record Screen on Windows 11 Without Any Third-Party App
Vivetool is the most popular tool among Windows 11 users for enabling hidden new features and settings. Here is how to use this tool to turn on and off the tabbed File Explorer on Windows 11.
Table of Contents
How to Turn Off Tabbed File Explorer on Windows 11?
1. First, download the ViveTool from Github (link) and unzip the file to C:/Vivetool.
2. Next, open a Command Window as administrator (click Start > type cmd > select cmd run as administrator).
3. On the command prompt window, type Cd C:/Vivetool and hit Enter key.
4. Now, execute the below commands one by one:
vivetool /disable /id:37634385vivetool /disable /id:39145991
5. If you want to disable the new navigation pane in File Explorer, execute the below command:
vivetool /disable /id:36354489
6. Close the Command Prompt and restart your Windows 11.
You have now disabled tabs in File Explorer. You will not see the + icon to add tabs in File Explorer when you open it.
How to Re-enable Tabs in Windows 11 File Explorer?
If you have changed your mind later and want to bring the tabbed File Explorer on Windows 11, execute the below commands.
vivetool /enable /id:37634385vivetool /enable /id:39145991
To restore the new navigation pane, execute the below command:
vivetool /enable /id:36354489
That is about how to disable/enable tabs in File Explorer on Windows 11.
More Resources:
- Download, Install and Use Microsoft PC Manager on Windows 11 and 10
- How to Remove Unused Device Drivers From Windows 11 PC
- How to Reset Windows 11 Without Deleting Personal Files
- How to Turn On/Off Search Highlights in Windows 11


