Back in September, Motorola rolled out Android 7.0 Nougat OTA update for US variant Moto X Pure edition (XT1575) with build number NPH25.200-22. If you have not updated your device yet to Nougat, or unable to install the OTA (over the air) update for some reason, you need to install the Nougat factory image manually. Read on to know how to download official Android 7.0 Nougat update and install it manually on Moto X Pure XT1575.
In this guide, we show you how to download and install stock Android 7.0 Nougat firmware on Moto X Pure XT1575. Read the step by step guide given below carefully and then proceed to update your Moto X Pure to Nougat. After installing Android 7.0 Nougat update on your Moto X Pure XT1575, you can enjoy Google Duo video calling app, redesigned notification panel, improved data, battery and system stability features.
If you have not got the OTA update on your device, check it by going to Settings > About phone > System updates and check for the update. If update found, tap ‘Yes I’m in’ and continue. This is the safest method. Alternatively, follow this guide.
If you are unable to install the OTA update, then follow below guide to flash stock Nougat firmware manually. This will also unbrick your device, if it is bricked. The process is simple. All you need ADB and Fastboot setup on your PC, Nougat factory image and little patience.
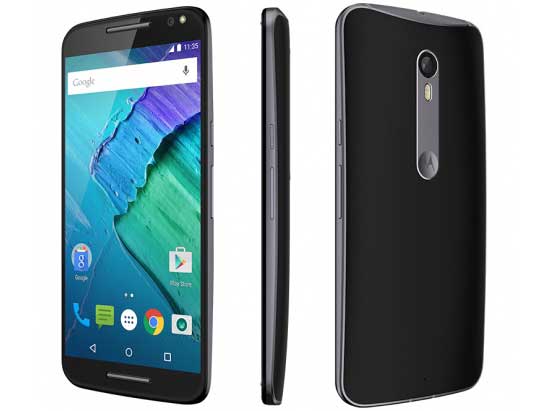
Important: This guide supports Moto X Pure XT1575 US variant only. For XT1572 Indian variant, follow this guide.
Warning: Playing with Fastboot commands can seriously damage your phone, so take extreme care while issuing commands.
Prerequisites:
– Moto X Pure stock firmware build NPH25.200-22 (download from here)
– ADB and Fastboot drivers on your computer (see this guide)
How to install Nougat Factory Image of Moto X Pure XT1575
Disclaimer: Follow the instruction at your own risk. We will not be liable if any damage occurs to your device and/or its components. Backup all data you have on the phone before proceeding.
1. Unzip the downloaded firmware file (xml.zip) and save all the content where ADB is installed.
2. Connect your phone to your PC via USB cable.
3. Go to ADB installation folder and open a command window or terminal from there (Press Shift key, right click and select the command window option).
4. In the command prompt/ terminal, type the below commands and hit Enter.
adb reboot-bootloader
5. Once entered into bootloader, issue below commands in the command prompt one-by-one.
fastboot oem lock begin

fastboot flash partition gpt.bin

fastboot flash bootloader bootloader.img

fastboot flash logo logo.bin

fastboot flash boot boot.img

fastboot flash recovery recovery.img

fastboot flash system system.img_sparsechunk.0

fastboot flash system system.img_sparsechunk.1

fastboot flash system system.img_sparsechunk.2

fastboot flash system system.img_sparsechunk.3

fastboot flash system system.img_sparsechunk.4

fastboot flash system system.img_sparsechunk.5

fastboot flash system system.img_sparsechunk.6

fastboot flash system system.img_sparsechunk.7

fastboot flash modem NON-HLOS.bin

fastboot erase modemst1

fastboot erase modemst2

fastboot flash fsg fsg.mbn

fastboot erase cache

fastboot erase userdata

fastboot reboot
That last command will reboot your phone. After rebooting your Moto X Pure, set up your phone and enjoy.
Troubleshooting:
If you have received “Preflash validation error”, it means you are attempting to install a firmware image that is older than what you have installed currently on your device. Any question? Leave it in the comment section below.(Source – Reddit)


Comments (2)
You need to add spareschunk 8 & 9 to the commands also if your not wanting to relock your bootloader omit the first command. The first modem cammand usually needs to be run twice to take.
I just want to say thanks. I moved to LineageOS for quite a while because of Android 6 problem with screen overlay. It was just too frustrating. Lineage worked for me, but never perfectly of course. I’d been meaning to move back to official Moto software when 7 was available, and never did. I found your instructions, and it went smoothly and quickly.
The only problem is that Google doesn’t recognize my Lineage backups, so I’m having to redownload all my apps and rebuild my screens. Worth it, to have Android 7 with native Moto software. Hopefully no more weekly crashes.
Comments are closed.