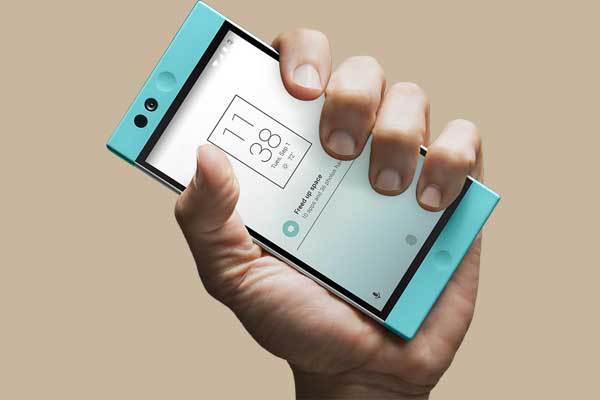
The first cloud-based Android smartphone, Nextbit Robin was one of the best smartphones of 2016. Launched with Android Marshmallow out of the box, the company has updated Robin to Android 7.0 Nougat back in March 2017. Now, official Android 7.1.1 Nougat update is available for the handset, which you can install manually. Read on to know how to install Android 7.1.1 Nougat update manually on Nextbit Robin.
In this guide, we show how to install official Android 7.1.1 Nougat factory image manually on Nextbit Robin. You can also use this guide to restore your Robin back to stock. Besides general bug fixes, the update offers improved performance, better security (patch level February 2017) and more. If you own this device, check out the guide to update to Android 7.1.1 Nougat.

Before start, note that to flash official factory image manually on Nextbit Robin requires ADB and Fastboot driver on your computer. The installation is simple; all you need to execute few commands, but should have knowledge on ADB commands and Android firmware flashing.
Prerequisites:
– Ensure 60 – 80% battery charge remaining on the phone.
– Back up all important data you have on the phone.
How to Install Android 7.1.1 Nougat update on Nextbit Robin Manually
Disclaimer: Follow the instruction at your own risk. We will not be liable if any damage occurs to your device and/or its components. It is recommended for technically talented users only.
1. Download Android 7.1.1 Nougat factory images for Nextbit Robin [HERE] and unzip it. Copy and paste all the unzipped content inside the ADB installation folder (Usually it will be at C:\\ ADB)
2. For Windows PC, download driver file for Nextbit Robin [HERE] and install it on your PC.
3. On your phone, go to Settings > About phone > Build number and tap on it 7 times to enable Developer Options.
In Developer Options, enable ‘OEM Unlocking’ and ‘USB Debugging’. Accept any confirmation on the phone.
4. Turn off your phone, and then press Power + Volume Down to boot into fastboot mode.
5. Connect your phone to your PC and then go to ADB folder (where you have saved the firmware), press Shift key, right click and select open command here.
6. Type the below command to check your device is properly connected to your PC.
adb devices
[If your device is not listed, install proper fastboot driver and repeat the steps]
6. Now, issue the below command to unlock the bootloader
fastboot -i 0x2c3f oem unlock-go
7. Now type the below command and press enter to flash stock firmware
For Windows: flash-all.bat
For Mac: ./flash-all.sh
Your phone will flash all the necessary files and reboot to new version. Any question? Leave it in the comment section below. (Source – 1, 2)


