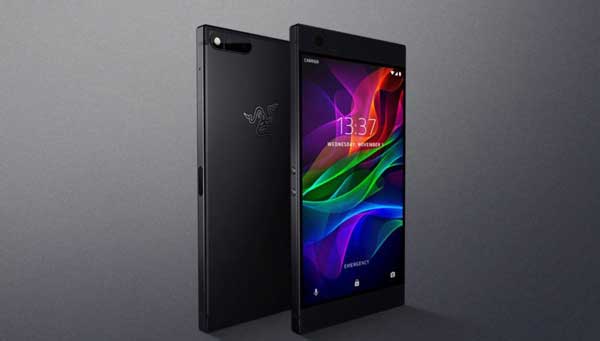
Razer Phone has released factory images for its device. You can download and flash the firmware manually on your device, for example if it bricked. Installing stock firmware will remove all tweaks and changes you have made on your Razer Phone and return it to box fresh state. Read on to know how to download and flash factory images on Razer Phone manually.
The Razer Phone was launched in November 2017 with great hardware specs (Snapdragon 835 SoC with 8GB RAM) and amazing features (Dolby Atmos, 120Hz display, game booster, front-facing speakers, 4000mAH battery, etc). Released with Android 7.1.1 Nougat, the device is developer friendly (unlockable bootloader).

Currently, firmware for all the three updates (November (NMF26X-RZR-180118.3005), December (NMF26X-RZR-171206.2009) and January 2018 (NMF26X-RZR-180118.3005) is available for download for global variant Razer Phone. The factory images are based on Nougat and the company may release Oreo based update in the future.
To install factory images manually, your Razer Phone’s bootloader must be unlocked. The process will void your device’s warranty. Also, installing this factory image will erase all data from the device, so take care.
How to Install Factory Images on Razer Phone
1. First, unlock Razer phone bootloader (follow this guide)
2. Download factory image for your device from here, unzip it and save where ADB is installed directory.
3. Enable USB Debugging and OEM Unlock Options in Developer Options menu and then connect your phone to your computer over USB.
4. Go to the ADB installation folder, open a command window from there and execute the command adb reboot bootloader. It will boot your phone into Download Mode.
5. Now, from the unzipped firmware file, execute the flash_all script.
This script installs the necessary bootloader, baseband firmware(s), and operating system for your Razer Phone. Once the script finishes, your Phone will reboot.
Note: You should now lock the bootloader for security. See this guide. (Source)


