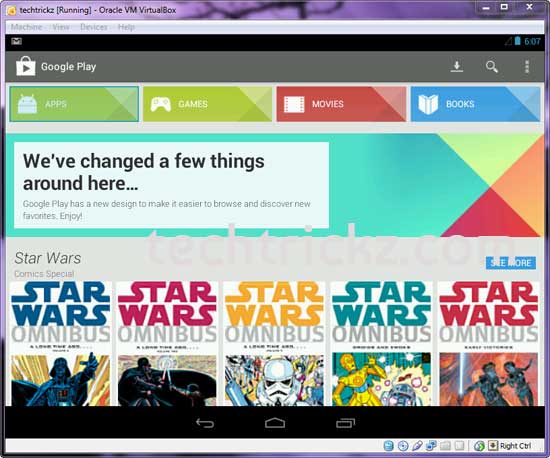
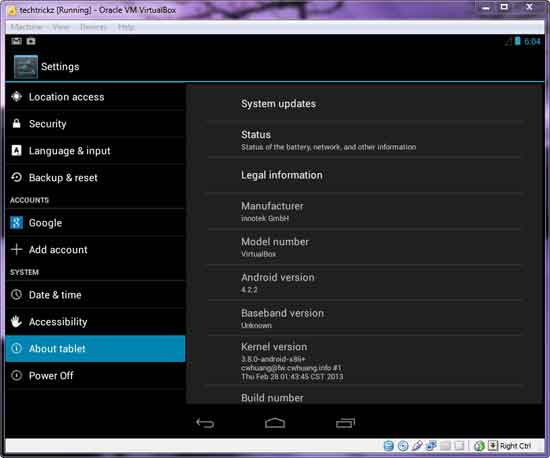
Just a few days ago, we featured an app called Genymotion, which is an Android emulator that allows you to run Android 4.1 Jelly Bean on your Windows PC. While this is incredibly useful for testing Android apps without needing a particular device, it would be great to install Android Jelly Bean (4.2.2) hassle free on Windows and that is what I am describing in the below post.

Anyone who has little knowledge on Android and Virtual box can easily install and run Android OS (Jelly Bean 4.2.2) in a virtual environment on Windows. Then you can connect it with your Google account, download, and install apps and games from Play Store and more.
How to install Android Jellybean 4.2.2 on your PC
Pre requisites: Windows PC running Windows XP, 7 or 8, Android 4.2 Image (based on x86 architecture) and Oracle VM Virtual Box
First download latest version of Virtual Box (95MB) and Android x86 4.2 ISO (199MB). Then follow the instructions given below.
1. Install Virtual Box on your Windows PC (tested on 32Bit Windows 7)
2. Open Virtual Box and select “New”. In the dialog box enter any name you like and select Type: Linux, Version: Other Linux and select Next.
3. In the next dialog box enter the memory size as your wish (Note: The minimum requirement for Jelly Bean is 512Mb) and select Next
4. In the next dialog box, select “create a virtual hard drive now” and click “create”.
5. Select VDI and click Next and select “fixed” or “dynamically allocated” as you wish and create the virtual drive. (Note: Minimum 1 GB required for installation)
6. Now, select the Virtual device you just created and click “settings”, a dialog box appears. In the dialog box, select:
a) Storage ->Storage Tree ->Empty
b) In the attributes section, select “IDE Primary Slave” and browse the Android 4.2 ISO file you have downloaded and check Live Cd/Dvd, then click Ok.
7. Now click “start” button to start the virtual device. In the screen, select Install Android-x86 to hard disk.
8. In the next screen, select Create/Modify Partition.
9. In the screen select New, then in the next screen select Primary to create a new primary bootable partition. Then select write and after finishing writing, select quit (use arrow keys to select and press enter key).
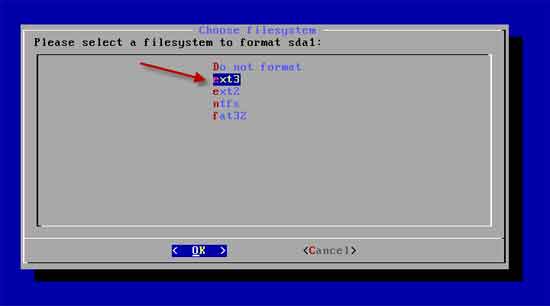
10. Then install android in sda1 and select file type as ext3, choose “yes” for installing grub.

11. After installing, remove live iso from VirtualBox and reboot. Now you can boot into Android 4.2.2.
You are done!

Note: Even though it says Android 4.2.2 Jelly Bean, I am unable to install some apps that supports on this virtual Jelly Bean devices.


![[U]Coolmuster Android SMS + Contacts Recovery App (Giveaway) Coolmuster Android SMS + Contacts Recovery](https://techtrickz.com/wp-content/uploads/2025/05/Coolmuster-Android-SMS-Contacts-Recovery-218x150.webp)