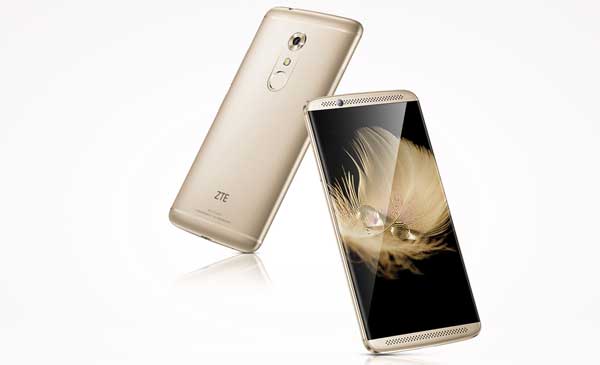
ZTE is currently testing Android 8.0 Oreo on Axon 7 as closed beta and the stable version is expected to roll out soon. However, tech-savvy owners of ZTE Axon 7 can try the leaked Android Oreo beta version (ZTE_A2017V3.0.0B01) on their device right now and experience all the Oreo (MiFavor 5.2) goodies. If you have an Axon 7 and are really excited to try this beta, here is how to get it.
Thanks to the XDA user asderdd, the leaked version of MiFavor 5.2 Beta for Axon 7 (ZTE_A2017V3.0.0B01), based on Oreo is now available for download, which you can install by booting the device into EDL mode. The Oreo update will bring features like Picture in Picture (PIP) mode, Auto-fill, Smart text selection, new Quick settings design, and more to the device.

If you have an Axon 7 (A2017) and are really excited to try the MiFavor UI 5.2 Beta (Oreo), here is something you should know that the ROM is not stable and this being the first closed beta by the XTE team, there are chances that it could be plagued with a lot of bugs.
Also, the installation process is very technical, so inexperienced users should NOT try it as it may brick the device. The process will wipe your device completely, so backup everything important.
– Manually Update ZTE Axon 7 to Android 7.1.1 Nougat
How to install Official Android Oreo Beta on Axon 7
Disclaimer: Please follow this guide at your own risk. We cannot take responsibility for anything that goes wrong. This guide is intended for technically talented users only.
1. Download MiFlash exe file from here and install it on your PC. Required driver files will be installed automatically.
2. Download Oreo Beta (ZTE_A2017V3.0.0B01-2_FULL_EDL_PACKAGE) EDL package from source here and unzip it (use 7zip).
3. Install MiFlash.exe file on your PC. 3. Switch off your phone, and then connect your Axon 7 to your PC via a USB cable y pressing Volume Up, Volume Down and Power keys at the same time. This procedure will boot your phone into EDL mode.
4. On your PC, open Device manager and see that your device is detected as “Qualcomm HS-USB QDLoader 9008”
5. Open MiFlash tool, click Select, browse and choose the folder you have just unzipped the EDL package (or copy and paste the folder location in MiFlash Tool in the select bar).
6. Now, click the Refresh button, you will see your device is detected in MiFlash tool.
7. Click on ‘Flash’ button. Wait for the installation process to complete (it may take a few minutes).
Once the process is done, reboot your Axon 7 and enjoy Android 8.0 Oreo. Leave your views in the comment section below (source – XDA)


