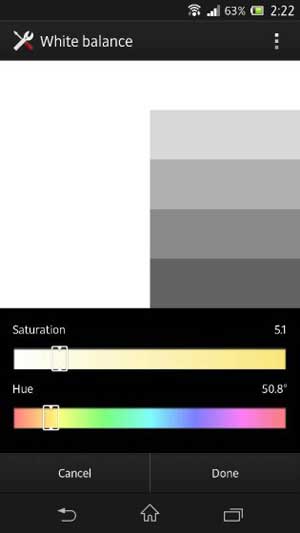
Both Sony Xperia Z and Xperia ZL comes packed with great hardware and software features, but for some reasons Xperia Z misses a feature screen calibration feature of Xperia ZL. Called White Balance this screen calibration app lets users separately adjust their screen’s white balance, color saturation, and hue according to their likings.
Of course, this feature may appear in an upcoming firmware update, but if you can’t wait, here is how to get White Balance feature on Sony Xperia Z right now. An XDA Forum Member mw1kaduxx has ported the “White balance” display calibration setting to the Xperia Z.

Table of Contents
How to get White Balance on Xperia Z
The White balance APK can be installed in two ways either by flashing via custom recovery or moving the apk to system folder. The first method is simple, so follow the instructions given below.
Pre requisites:
1. Xperia Z bootloader unlocked – (It is relatively simple to unlock the bootloader. Simply go to unlockbootloader.sonymobile.com and follow the instruction. There are quite a few steps involved.
2. It must be rooted – There are several methods available for rooting Xperia Z. You may follow this XDA Forum post: forum.xda-developers.com/showthread.php?t=2186368
3. Custom recovery installed – You may follow this XDA forum post to install custom recovery (CWM) on Xperia Z: forum.xda-developers.com/showthread.php?t=2167381
Instruction to flash White Balance ZIP
First, create a Nandroid backup from custom recovery, in case anything goes wrong.
– Download White Balance zip file from here and move it to root of your SD Card (don’t move to any folder)
– Go in to the recovery mode and wipe cache partition. Then delete dalvic cache from recovery “Advanced” option.
– Now, select “Install zip from SD card”, then “Select zip from SD card” and choose the White Balance Zip you have moved to root of your SD card.
Finally, go back and just reboot the phone. That’s all!


![Fix Unable to Boot in Recovery Mode on Samsung Phone: Showing [PDP] Error Android Recovery Mode](https://techtrickz.com/wp-content/uploads/2025/03/Android-Recovery-Mode-218x150.jpg)
