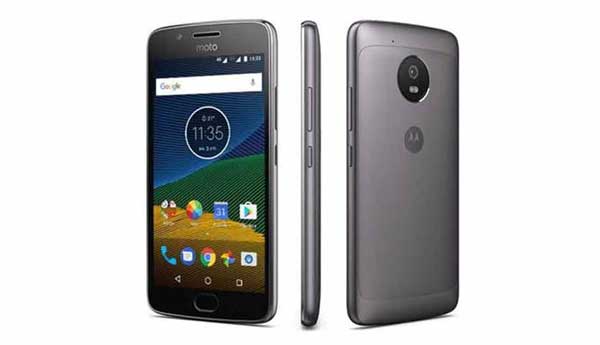
Own a Moto G5 Plus and want to development on this device? The Moto G5 Plus Toolkit may be the right tool for you. It helps you unlock bootloader of your Moto G5 Plus, helps you install TWRP custom recovery and gain root, Also helps you back up and restore your phone – all are very easily. With Moto G5 Plus Toolkit, you do not need to go through the command line to perform all these, the tool kit guide you all these through its GUI. If you are interested, here is how to use Moto G5 Plus Toolkit.
Moto G5 Plus Toolkit is an open sourced app and available for Windows, Mac and Linux system. Developed by an XDA a member drtechie, the multi-platform tool kit is very easy to use. It helps you unlock your bootloader, root your Moto G5 Plus, and flash TWRP. You can also create TWRP and system backups via this tool kit and restore the backups later. Also, it lets you install Moto G5 Plus driver file for Windows.
Features of Moto G5 Plus Toolkit:
– No need to install ADB and Fastboot binaries
– Works on Windows, Linux, and Mac
– Get bootloader unlock data from device and send bootloader unique key to device for unlocking
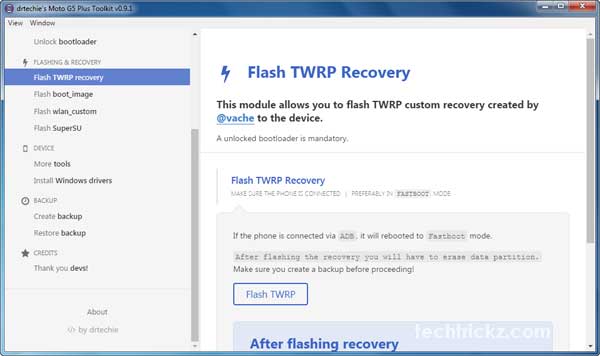
– Flash TWRP Recovery and SuperSU
– Commonly used ADB and Fastboot commands
– Includes drivers for Windows
– Create and Restore backups
Note that the tool kit is a recent development and the status is beta. It is not free from bugs. Known issues of Moto G5 Plus Toolkit are given below.
– TWRP backups saved to computer might fail to restore. The ones saved to phone work fine.
– TWRP gets stuck on logo if booted instead of flashed.
How to use Moto G5 Plus Toolkit
Warning: Using this app will void your device warranty. Though the app is simple to use, it require some technical expertise or you will end up with a bricked device.
1. Download latest version of Moto G5 Plus Toolkit zip file from source here and unzip it.
2. Run the Moto G5 Plus Toolkit.exe file (Windows) and click on ‘Get started’ button.
3. In the left pane of the app window, you can see all provided option one by one with instruction. Click on ‘How to use the toolkit’ and read carefully every instruction, then proceed with other steps.
4. Select the first option ‘Bootloader’ and follow the instruction to unlock the bootloader.
5. The second option lets you flash TWRP recovery, boot image, wlan, and SuperSU.
6. If you are on Windows, select ‘Install Windows driver’ option to install the driver file for your device.
7. The last option ‘Backup’ lets you backup your system (data, app apk, etc.) and Nandroid (whole system). The restore option lets you restore your backups. (Source – XDA)