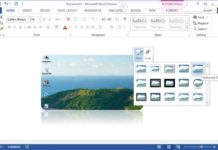
All applications in Microsoft’s new Office 2013 such as Word, Excel, PowerPoint, Outlook, etc have new features. For example, the new Word 2013 features a Live Layout tool, which lets you format document by dragging and dropping. Another new feature of Word 2013 is Read Mode. As its name indicates, Read Mode is intended for people who just want to read the documents. It makes your reading experience as easy and efficient as possible.
Read Mode contains a bunch of tools designed for reading instead of writing. When you enable Read Mode, it optimizes Word and presents you with a clean and distraction-free reading environment.
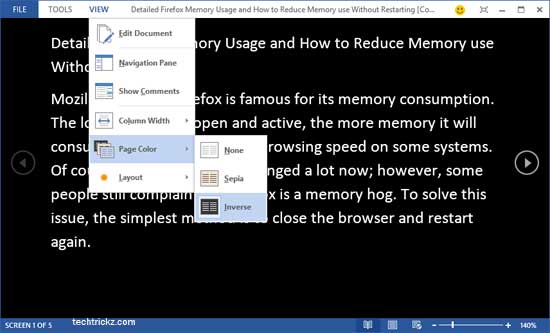
You can change background color (in Read Mode, go to View – Page color), page layout and column layout (useful on small screen sized devices) as per your preferences.
In Read Mode, you can look for meaning of a word or get additional background information by just right clicking the text. Also, you can translate the content from the context menu.
Another feature of Read Mode is Object Zoom. If a document contains lot of charts, tables and images, it’ll resize to fit the reading pane. If these elements contain lot of information, but difficult to get details due to its small size, you can easily zoom “into” the object with a double-click or double-tap.
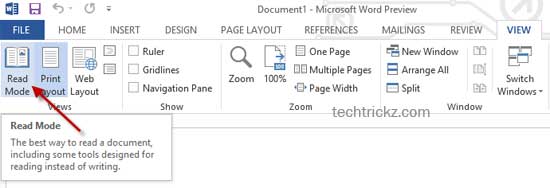
Read Mode can be enabled by going to View – Read Mode, or using a shortcut key (See end of this post to know how to assign a shortcut key for Read Mode)
Assign a shortcut key for Read Mode: To assign a shortcut key for Read Mode, click “File” menu and select “Option”. Then click “Customize Ribbon” and then click ‘Customize” button.

From the “Categories” list, choose “View Tab” and then from the“Command’ list choose ReadingModeLayout. Enter a key or key combination (for example, Ctrl + R) and click “Assign to save the settings.[via]

