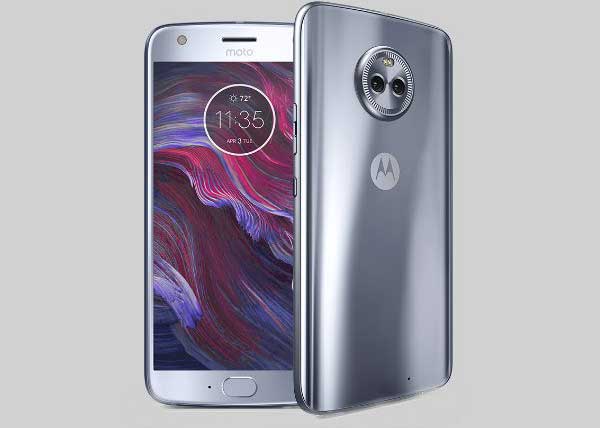
Motorola has released Android 8.0 Oreo update for the fourth Gen Moto X4. Both Standard and Android One edition Moto X4 (Payton) has updated to Oreo with several value added features and latest security patches. Since the OTA update is rolling out in phases, it will take a few days to reach on your device. If you own a standard Moto X4 Global variant (XT1900), here is how to install the Android 8.0 Oreo update manually on it.
In this guide, we show you how to install stock Android 8.0 Oreo firmware (PAYTON_OPW27.57-40) manually on Moto X4 (Payton) global variant. This guide may also help you unbrick a non-booting Moto X4. For example, if your phone stuck in a bootloop/welcome screen after installing a custom recovery or a custom ROM, check out the step-by-step guide given below.

The below tutorial assume that you have knowledge on ADB, Fastboot, and how to issue fastboot commands. If you have followed the guide carefully, you can unbrick, unroot and restore stock firmware on your Moto X4 (code named Payton).
There are few prerequisites for installing stock firmware on a Moto X4. First, download all files given below and then follow the below guide. All credits go to XDA member lohanbarth.
Downloads:
– Motorola driver file for Windows [here]
– ADB and fastboot driver setup [guide]
– Stock Oreo ffirmware (PAYTON_OPW27.57-40_subsidy-DEFAULT_regulatory-DEFAULT_CFC.xml.zip) [here]
Important: Backup all important data you have on the phone.
How to Unbrick/Install official Oreo firmware on Moto X4
Disclaimer: Follow the instruction at your own risk. We will not be liable if any damage occurs to your device and/or its components. Backup all data you have on the phone before proceeding.
1. Install Motorola driver on your PC.
2. Unzip the stock firmware (xml.zip) and save all the content where the ADB is installed.
3. Switch off your phone and boot into bootloader (press Volume Down + Power buttons together)
4. Now, connect your device to your PC via a USB Cable and open a command window inside the ADB folder and issue below commands one-by-one.
mfastboot flash partition gpt.bin

mfastboot flash bootloader bootloader.img

mfastboot reboot-bootloader

mfastboot flash modem NON-HLOS.bin

mfastboot flash fsg fsg.mbn

mfastboot erase modemst1

mfastboot erase modemst2

mfastboot flash bluetooth BTFM.bin

mfastboot flash dsp dspso.bin

mfastboot flash logo logo.bin

mfastboot flash boot boot.img

mfastboot flash system system.img_sparsechunk.0

mfastboot flash system system.img_sparsechunk.1

mfastboot flash system system.img_sparsechunk.2

mfastboot flash system system.img_sparsechunk.3

mfastboot flash system system.img_sparsechunk.4

mfastboot flash system system.img_sparsechunk.5

mfastboot flash system system.img_sparsechunk.6

mfastboot flash system system.img_sparsechunk.7

mfastboot flash system_b system_other.img

mfastboot flash oem oem.img

mfastboot erase carrier

mfastboot erase userdata

mfastboot erase ddr
That’s it. You have now successfully installed Oreo update/unbrcked your fourth Gen Moto X4. Leave your views in the comment section below (Source – XDA)


