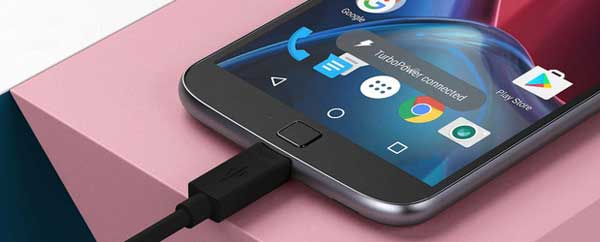
A bootloader unlocked Moto G4 with custom recovery and root access gives various possibilities to tech-savvy users, such as installing custom ROMs, flashing zip files, backup/restore entire OS, etc. but, users will not get official firmware OTA update on it. Motorola has already updated Moto G4 and G4 Plus to Android 7.0 Nougat, but Moto G4 with unlocked bootloader will not get the update. Read on to know how to install Android 7.0 Nougat update on a bootloader unlocked or rooted Moto G4.
In the below guide we let you know how to install Android 7.0 Nougat update on a bootloader unlocked/rooted Moto G4. The guide supports Moto G4 XT1640, XT1641, XT1642 and XT1643 variants and uses a TWRP backup of the firmware (NPJ25.9). Thanks to the XDA user Greekgodmerwyn for the tip, all you need to have a bootloader unlocked Moto G4 with latest version of TWRP recovery installed to install Android 7.0.

This guide supports Moto G4 XT1640, XT1641, XT1642 and XT1643 and may help you restore your device to stock firmware. For example, if your device is stuck in a boot loop while enabling root or after installing a custom ROM.
Before start, note that the guide is using the TWRP back up of Nougat firmware (NPJ25.9) file for Moto G4. It may not work on your device. If you are looking for restoring the stock firmware, you may refer this guide.
How to Install Android 7.0 Nougat on a Bootloader Unlocked/Rooted Moto G4
Disclaimer: Follow the guide carefully and at your own risk. We will not take any responsibility if anything went wrong. This guide is intended only for technically talented users.
1. Install latest version of TWRP recovery, if you have not it on the phone (download from here).
2. Download Android 7.0 Nougat TWRP backup from here, unzip the file and save it on your phone’s internal storage or sd card.
3. Boot your phone into TWRP recovery (turn off your phone and then press and hold the Volume Down & Power buttons simultaneously for a few seconds)
4. In TWRP recovery, select Wipe and you clear your Cache, Dalvik cache, Data and System (Important)
5. Return to main menu, choose ‘Restore’, navigate to TWRP backup file (you have saved on the phone)
6. Wait for the process to finish. Once done, clear Cache and Dalvik cahe and reboot your device.
Set up your device and enjoy Android Nougat. Leave your views in the comment section below (Source – XDA)


