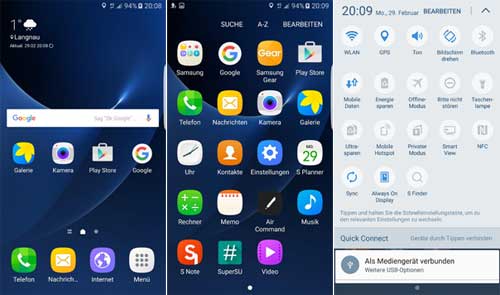
Galaxy S6 and S6 Edge owners can now get Galaxy S7 Edge features and apps on their device with Sixperiance custom ROM. Based on the Android 6.0.1 TouchWiz, this custom ROM includes all the Galaxy S7 ported apps and features. Developed by the XDA contributor geiti94, The Sixperiance ROM is the first complete port of Galaxy S7 Edge TouchWiz for Gakaxy S6/S6 Edge.
Based on Android 6.0.1 Marshmallow the Sixperiance ROM is pre-rooted, slightly debloated, battery friendly, fast and responsive. However, the ROM seems to be too basic, but the most attractive features are those that are come from the Galaxy S7 Edge. Tech-savvy, rooted Galaxy S6/S6 Edge owners can install the ROM via custom recovery. Read on to know the installation procedure.

The ROM status is stable but not free from few bugs. You need to disable the Galaxy S7 exclusive features ‘Always on Display’ and ‘Night clock’ on first boot.
Installation Instruction for Sixperiance ROM
IMPORTANT: Before flashing the ROM, please backup your data and your EFS folder. Also, keep in mind that the process will void your device’s warranty.
Disclaimer: This guide is intended for Galaxy S6/S6 Edge (G920F/K/L/S and G925F/K/L/S). Follow the instruction at your own risk. We will not be liable if any damage occurs to your device and/or its components. It is recommended for technically talented users
Installation Guide
1. Flash latest version of TWRP custom recovery via Odin and gain root access.
2. Download [HERE] [Source] Galaxy S7 Edge Port ROM zip file and transfer it to your device’s SD card
3. Now, boot Galaxy S6 into custom recovery by pressing Home + Power + Volume up button at the same time.
4. From recovery, choose Wipe -> Advanced Wipe -> Dalvik, System, Data and Cache. Then, swipe right to begin flashing the ROM.
5. Now, choose ‘Install’ and select the ROM zip file and then swipe.
6. Once the installation is completed, reboot your phone. It will take around 10 minutes.
To get more details about this ROM, discussion and installation instruction, head over to this XDA thread.


