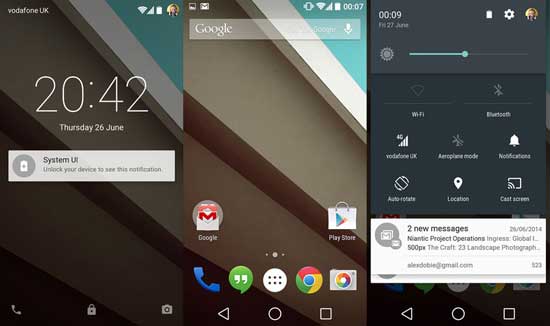
Moto X 2013 users can now enjoy Android 5.0.2 Lollipop on their device with official CyanogenMod 12 custom ROM. CyanogenMod is one of the most popular custom ROM for Android phones and now the developers has released CyanogenMod 12 nightly builds (CM12) for some of the most popular devices, including the first generation Moto X 2013.
In this tutorial, we will show you how to install official CyanogenMod 12 Nightly on first generation Moto X 2013. CyanogenMod 12 is based on the new Android 5.0.2 Lollipop OS, which means Moto X 2013 users can enjoy Lollipop plus CyanogenMod features on their device by flashing the CM12 ROM.
However, keep in mind that CM12 is currently a nightly build, which means the ROM is not completely stable. Though most things are work well, still there are a few problems remaining. Also, many known CM features are missing in this nightly build, like the Theme Engine, Sound Panel customization and lock screen quick unlock.

How to install Official CyanogenMod 12 Nightly on Moto X 2013
WARNING: This procedure will void your device’s warranty. Follow the instruction at your own risk. We will not be liable if any damage occurs to your device and/or its components. It is recommended for technically talented users only.
Important Note: Before flashing the new CM12 you need to flash CM11 in your Moto X, otherwise you cannot flash CM12. Follow the instruction.
Requirements:
a) Unlocked bootloader
b) Latest version of any custom recovery like TWRP or CWM with fastboot
c) Full system dump (Nandroid backup) created using the custom recovery. Flashing a new ROM will wipe all existing data from your device.
d) At least 70% of battery remaining
Download:
1. CyanogenMod 11 Nightly for Moto X 2013 (ghost) [HERE]
2. CyanogenMod 12 Nightly for Moto X 2013 (ghost) [HERE]
3. Gapps [HERE]
Instruction:
1. Install latest TWRP recovery (2.8.0.3) with fastboot on your Moto X 2013
2. Boot your phone into recovery mode by holding Volume (-) and Power button together for some seconds.
3. In the menu, go to “Recovery” option using Volume (-) key and select it using Volume (+) key.
4. You will see a red exclamation mark, press and hold Volume (+) and Power button for a few seconds to enter the “Recovery Mode”.
5. Once you are in the Custom Recovery, perform a factory reset and wipe out the Cache and Data partitions. Then, go to the “Advanced” menu and clear the “Dalvik cache” too.
6. Now, go back to main menu, select “Install Zip” and then choose CM11 Nightly. Once the flashing process is completed, reboot your phone. Let CM11 to boot completely.
7. Once again, boot your Moto X into recovery mode and then flash CM12 Nightly.
8. Also, flash Gapps, if needed.
9. Now, wipe cache and dalvik cache. This step is optional but recommended in order to avoid bootloops.
Reboot your phone and enjoy CyanogenMod 12 (Android 5.0.2 Lollipop) on your Moto X 2013. Enjoy! (source)


Hi.. The information is very useful. but i cannot download the CM11 nightly from the website. Can you please anyother source to download cm11